Build a Kitchen Office Nook in 3 Easy Steps
DIY Kitchen Desk Nook
When we first built our home two and a half years ago, we kept things pretty simple, knowing that we’d be making a lot of customizations to make it more ‘us’ along the journey. With out builder, there wasn’t many options in the way of customization without racking up the total cost of the home to an outrageous amount - so we’ve taken to a lot of DIY and we LOVE it!.
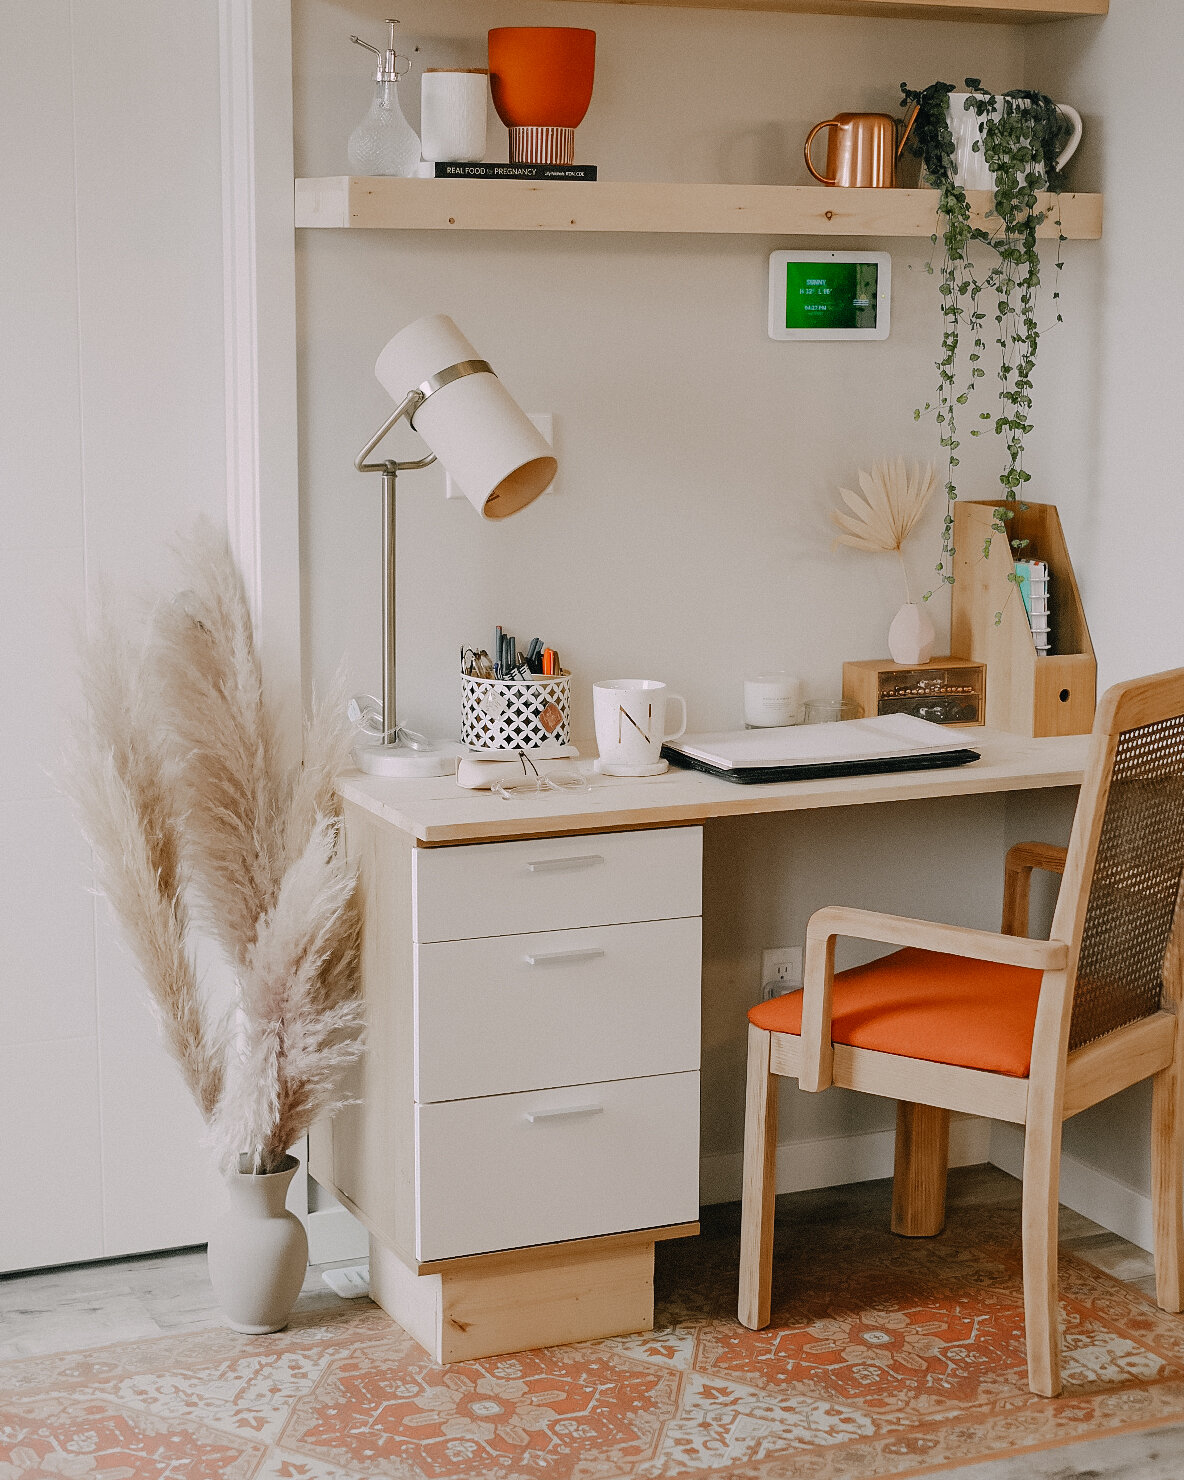
Our most recent project is a kitchen office nook - primarily for my work and admin tasks. Prior to having this cozy little working nook the space was not being used to any potential, it was ‘dead space’ as I refer to it. Now, the area looks much more homie and is actually usable in a practical way. Please note the painful before photo.
Okay enough fluff, let’s get into the good stuff: the process, the build, the outcome!
Home Office Kitchen Nook:
Step 1: Plan it out!
I began designing the space using Pinterest for inspo (of course) while thinking of my own home style and practicalities for what I would use the most in my working from home career. Eventually, I decided on a sleek and simple desk space with some storage for filing important documents and some floating selves for some interior styling (which we all know is half the fun).
Next up, we grabbed our measurements and decided on some wood. We went with unfinished pine from Lowe’s - I personally love the natural look of the light wood without stain. After measurements my amazing and talented Dad cut and assembled! The filing cabinet - which almost matches the pine - is from Structube.
Step 2: Build and Assemble!
Below are the steps used to build follow by assemble
layout the pieces for the floating shelves: dimensions 8ft 1X6 and 8ft 1X3 - cut boards to desired length.
Stack boards to check fit and do any sanding or trimming needed. It’s important all sides line up so your shelf looks clean and seamless.
Assemble your shelf - we used Elmer’s Glue and finishing nails to keep things hidden and then screws for attaching the back piece to the studs in the wall. Leave the front piece of your shelf off!
After they are built double check the fit of the front piece of the shelf - remember don’t put that last front piece on just yet - you’ll need to screw the shelf to your studs through this access and then secure the top with finishing nails and wood glue once on the wall!
Assembling may take an extra pair of hands if you have another person available. My Finance and Dad levelled out and secured to the wall together. It was easiest if one could hold it level while the other screwed into the studs to prevent error.
Step 3: style and enjoy!
Here comes the fun part: Styling!! I chose to style the two floating shelves with items we already had around our home, I’ve got a trailing hearts plant, a pothos, some vases with texture, watering can, mister, candle, and book. On my desk itself I’ve got a wooden paper organizer, an wood drawer for odds and ends, a pen/highlighter holder with some motivational magnets because we all need that kind of energy, and my laptop + weekly day planner.
Additional Items:
Vintage Vinyl floorcloth: my favorite piece in the nook, it added so much life to the cozy space.
Pampas Grass: Local to YYC
Office chair: DIY upcycle 70s - used electric sander! Chair fabric: Fabricland.
Together, this project cost $214 cad. $95 for wood and $119 for the cabinet - which you could also easily make for a more affordable option! Most built in desk nooks are upwards of $400 so you’re looking at about 1/2 the cost.
Let me know your thoughts below!


